
Plus-Size Knee Brace That Doesn’t Slide Down: A Fit-First Guide
Measure your thigh, knee and calf, then compare anti-slip features, wraparound designs and fit checks for a plus-size knee brace that stays put.
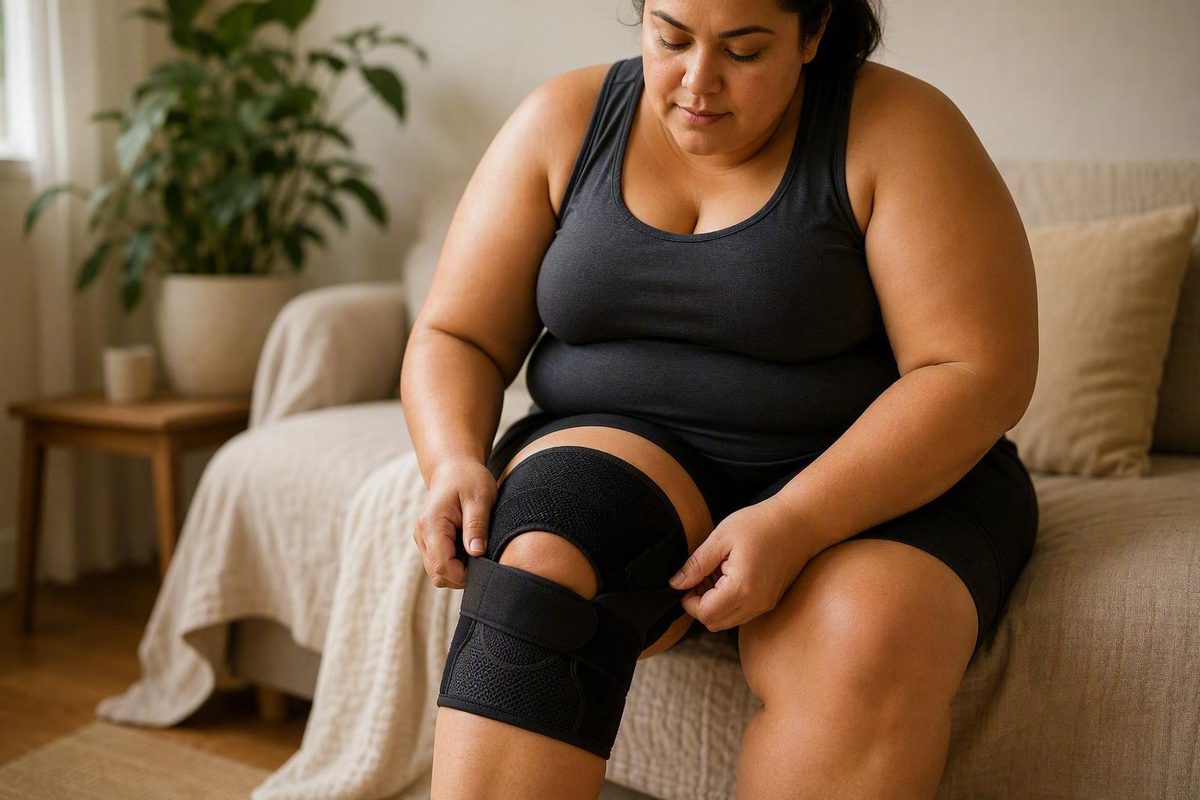
No knee brace can be guaranteed never to move, but the best candidate is one sized from your thigh, knee and calf measurements—not an “XL” label alone. For a fuller thigh or a large difference between thigh and calf size, prioritize an adjustable wraparound brace or a sleeve made for that leg shape. Straps above and below the knee, silicone grip zones and breathable fabric can help, but they cannot rescue the wrong size.
Measure three places before comparing braces
Use a flexible tape against bare skin and record:
- The circumference around the center of the kneecap.
- The thigh circumference at the exact distance specified by the product.
- The calf circumference at the specified distance below the kneecap.
DonJoy, for example, measures the thigh and calf 6 inches above and below the kneecap, but it also warns that individual models can have different requirements. Use the chart attached to the exact brace, not a general brand chart or your clothing size (DonJoy sizing guide). Our guide to product-specific knee-brace charts explains why the same size label can lead to conflicting choices.
Do not assume that the largest listed size fits the largest leg. One current “plus-size” wraparound model says its labels run small and instructs buyers to measure both 6 inches above and below the kneecap; its stated range is XL through 9XL (BraceAbility product instructions). The measurements, not the number of Xs, determine whether it is a candidate.
Features most likely to reduce sliding
Look for these in roughly this order:
- A chart that accommodates all three measurements. If the thigh fits but the calf does not—or vice versa—the brace may migrate even when the knee-center measurement looks right.
- Independent upper and lower adjustment. A wraparound brace or sleeve with straps above and below the kneecap lets you fit a tapered leg without squeezing every area equally. One plus-size sleeve, for example, uses separate upper and lower straps specifically to resist sliding (BraceAbility large-leg sleeve).
- A shape intended for a larger thigh-to-calf difference. Bauerfeind identifies this difference as a contributor to slippage and offers certain “comfort” sizes for that shape; that is a product-specific option, not a reason to size down in every brand (Bauerfeind fitting guidance).
- Silicone or textured anti-migration zones. These can improve grip, provided your skin tolerates them. Check that the feature continues through the size you need.
- Breathable, moisture-managing material. Sweat can reduce grip. Bauerfeind recommends a breathable flat-knit material when trapped heat and moisture are contributing to movement.
- An open area behind the knee if bunching is the problem. This may make repeated bending more comfortable, although it does not correct poor sizing by itself.
A pull-on sleeve is not automatically better or worse than a wraparound brace. Choose the support type for its intended job first, then solve the fit. If you need kneecap guidance, see how to choose a patella stabilizer. A prescribed hinged or post-operative brace should not be replaced with a retail sleeve merely because the sleeve stays up more easily.
Test the fit without overtightening
Apply the brace to clean, dry skin unless its instructions say otherwise. Center its kneecap opening, pad or hinges where the manufacturer directs, then fasten the straps in the stated order. Hospital instructions for range-of-motion braces recommend direct skin contact for a better fit and less slipping, while also advising users to adjust straps as swelling changes (Dorset County Hospital).
Then perform a short indoor test:
- Sit and stand several times.
- Walk for 10 minutes.
- Bend the knee as far as your current activity or recovery plan permits.
- Check whether the brace has rotated, dropped or bunched behind the knee.
- Recheck the skin and your foot for pressure or circulation symptoms.
If it slides, first confirm its position and application sequence. If you must keep tightening it to stop movement, the size or shape is probably wrong; use the return window rather than accepting an unsafe fit.
Stop and reassess an uncomfortable brace
Snug is not the same as painfully tight. UCLH advises users of hinged knee braces to seek prompt advice for rubbing or blister-like pain, burning, persistent swelling or redness, or changes in leg color, temperature or sensation. Blue or white toes, continuing numbness, coldness or pins and needles require immediate assessment in its guidance (UCLH hinged-brace advice). Follow your own clinician’s instructions if the brace was prescribed after an injury or operation.
A practical buying checklist
Before ordering, confirm that:
- the exact chart covers your thigh, knee and calf measurements;
- the seller shows where each measurement is taken;
- upper and lower sections can be adjusted separately if your leg is tapered;
- grip material will contact bare skin and is compatible with your skin sensitivities;
- the brace has an exchange policy after a careful indoor fit test;
- the design supplies the type of support you actually need.
The shortest route to a brace that stays up is not “buy the tightest one.” It is to match the brace’s geometry to your whole leg, then use anti-migration features as reinforcement.