
Exercises for Jumper’s Knee: Start Slow, Then Build Load
Learn how knee-extension holds, slow squats and step-ups fit into jumper’s knee rehabilitation, with pain checks and guidance on returning to jumping.
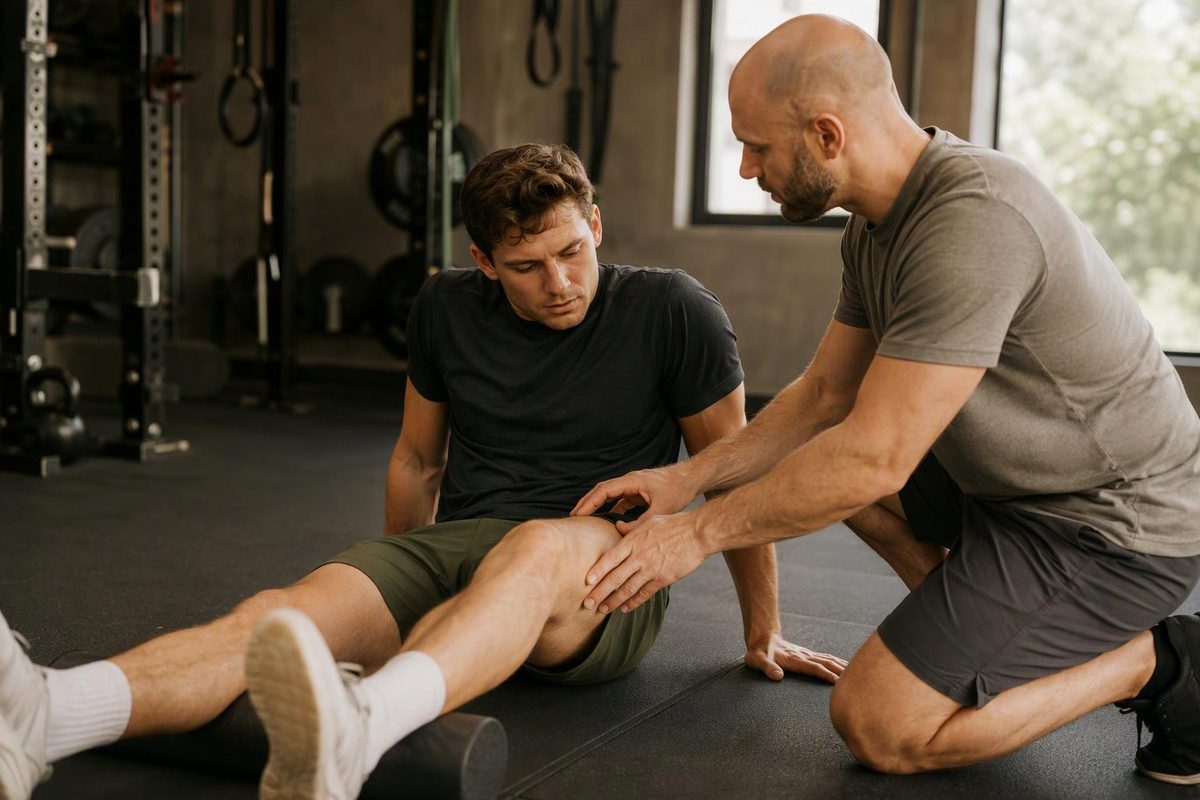
For diagnosed jumper’s knee, the main exercise approach is progressive loading: start with tolerable thigh-muscle work, build strength through slow movements, then restore running and jumping demands. Stretching or resting alone does not replace that process. A clinical review supports combining activity modification with progressively harder tendon-loading exercises.
Jumper’s knee usually means patellar tendinopathy—a problem affecting the tendon connecting the kneecap to the shinbone. Pain is often focused just below the kneecap and increases with running, jumping or other knee-loading activities. That pattern is a clue, not a diagnosis; other knee conditions can overlap. Swansea Bay University Health Board describes this symptom pattern and the need for clinical assessment. The exercises below are general education for adults whose symptoms have been assessed, not a plan for an unexplained new injury.
Before starting: when exercise is not the next step
Seek urgent assessment if your knee is very painful, you cannot move it or bear weight, it is badly swollen or misshapen, it locks or gives way, or it is hot or red with fever or chills. A sudden pop with difficulty straightening the knee also needs prompt assessment rather than tendon exercises. Arrange a routine appointment if knee pain is not improving within a few weeks. These are consistent with NHS knee-pain guidance.
Use pain and the next-day response to guide the load
Reduce the running, jumping or training volume that clearly aggravates symptoms while keeping tolerable activity. Rehabilitation adds load too: simply placing exercises on top of an unchanged sports schedule can leave too little recovery.
A 2021 trial of progressive tendon loading kept exercise pain at 3 out of 10 or less. That is a useful conservative limit to discuss with your physiotherapist, not proof that every painful movement is safe.
- Keep discomfort mild and avoid pushing through rising pain.
- Check the knee later that day and the following morning.
- If pain remains above its usual level the next day, reduce resistance, repetitions, movement depth or aggravating activity before the next session.
Swansea Bay’s rehabilitation guidance uses minimal exercise pain and symptoms returning to baseline within 24 hours as part of progression toward jumping.
Three exercise options—not three exercises you must do together
1. Seated knee-extension hold
An isometric exercise works the muscle without moving the joint. It can be an early loading option when repeated bending and straightening is uncomfortable.
- Sit on a leg-extension machine adjusted to fit you, with the pad against the lower shin.
- Straighten the knee partway and hold it in a comfortable, partly bent position against resistance.
- Keep your thigh and pelvis supported; breathe normally rather than straining.
- Lower the weight under control and rest between holds.
A studied target is five 45-second holds, but the resistance and hold duration should match your capacity. Ask a physiotherapist to set the starting load and knee position; do not force that target if pain rises or you cannot maintain the position. A securely anchored resistance band is another option after instruction. Isometric work may provide short-term pain relief, but relief does not mean the tendon is ready for sport. Clinical review
2. Slow, supported squat
This moves the knee under load and can progress from body weight to resistance.
- Stand with feet comfortably apart beside a stable support.
- Bend your hips and knees slowly, keeping your feet planted.
- Use only a depth you can control within the pain limit.
- Rise slowly, without bouncing at the bottom.
For a cautious first trial, use one set of 8–12 repetitions. This is a tolerance check, not a complete research-based rehabilitation dose. Once tolerated, a physiotherapist can progress sets and resistance. One studied slow-resistance protocol used three seconds down and three seconds up. Clinical review
3. Low step-up
A step-up offers another controlled strengthening option when you can comfortably accept weight on the affected leg.
- Use a low, secure step and hold a rail or counter for balance.
- Place the affected foot fully on the step.
- Rise through that leg, minimizing the push from the trailing foot, then bring the other foot onto the step.
- Keep the knee moving in line with the middle toes, then return slowly to the floor.
Try 8–12 repetitions, stopping earlier if control or comfort deteriorates. Choose a lower step if needed. Alberta’s patient exercise guidance includes this exercise and advises starting slowly and easing off with pain.
How to progress—and when to jump again
Do not increase repetitions, resistance, depth and sports volume all at once. Build controlled strength first. Harder slow-resistance sessions generally need at least a day between them; your physiotherapist can coordinate these with running or training. Swansea Bay guidance
Jumping comes later, once strength and pain have improved. Readiness also involves adequate strength comparable with the other leg and tolerance of introductory jumping loads—not pain relief alone. Start with low-height jumps and increase volume before height or distance. Progress toward sport-specific drills only when the current load is tolerated during exercise and symptoms return to baseline within 24 hours. Competition follows tolerance of full training—not just a comfortable squat. Swansea Bay guidance
The 2021 trial progressed jumping from two legs to one leg and found better pain-and-function scores with progressive loading than eccentric-only exercises—focused on the lowering phase—after 24 weeks. Participants were athletes aged 18–35, mostly with longstanding symptoms. It does not establish one home routine or recovery deadline for everyone. For more on expectations, see the knee-tendon recovery timeline.